The PC Configuration Program is used to manage application configurations. Configurations are created and managed on the Apps Tab. The Apps Tab works in a completely offline way. No connection to an RTU is required to manage application configurations. You can download application configurations that you create here to an RTU using the Sync With RTU tab.
Changes are saved immediately to the underlying database. There is no undo feature. To prevent accidental changes, copy a configuration to a new instance before making changes. You can copy individual changes in an application's configuration from the Compare tab.
To summarize, on this tab you can:
Create new application configurations.
Copy application configurations.
Delete application configurations.
Configure applications
A minimal workflow would be to create an application configuration, modify it as desired, and then download it to the RTU. The first two steps are completed on the Apps tab and the last step is completed using the Sync With RTU tab.
Note that it is possible to filter the grid view by individual columns. To add a filter, click the funnel symbol on the column header and choose your options. It is also possible to group columns together so that all application configurations at the same version, or the same type, or both, appear in their own list. To group by a specific column, grab the column header and drop it onto the dark blue bar.
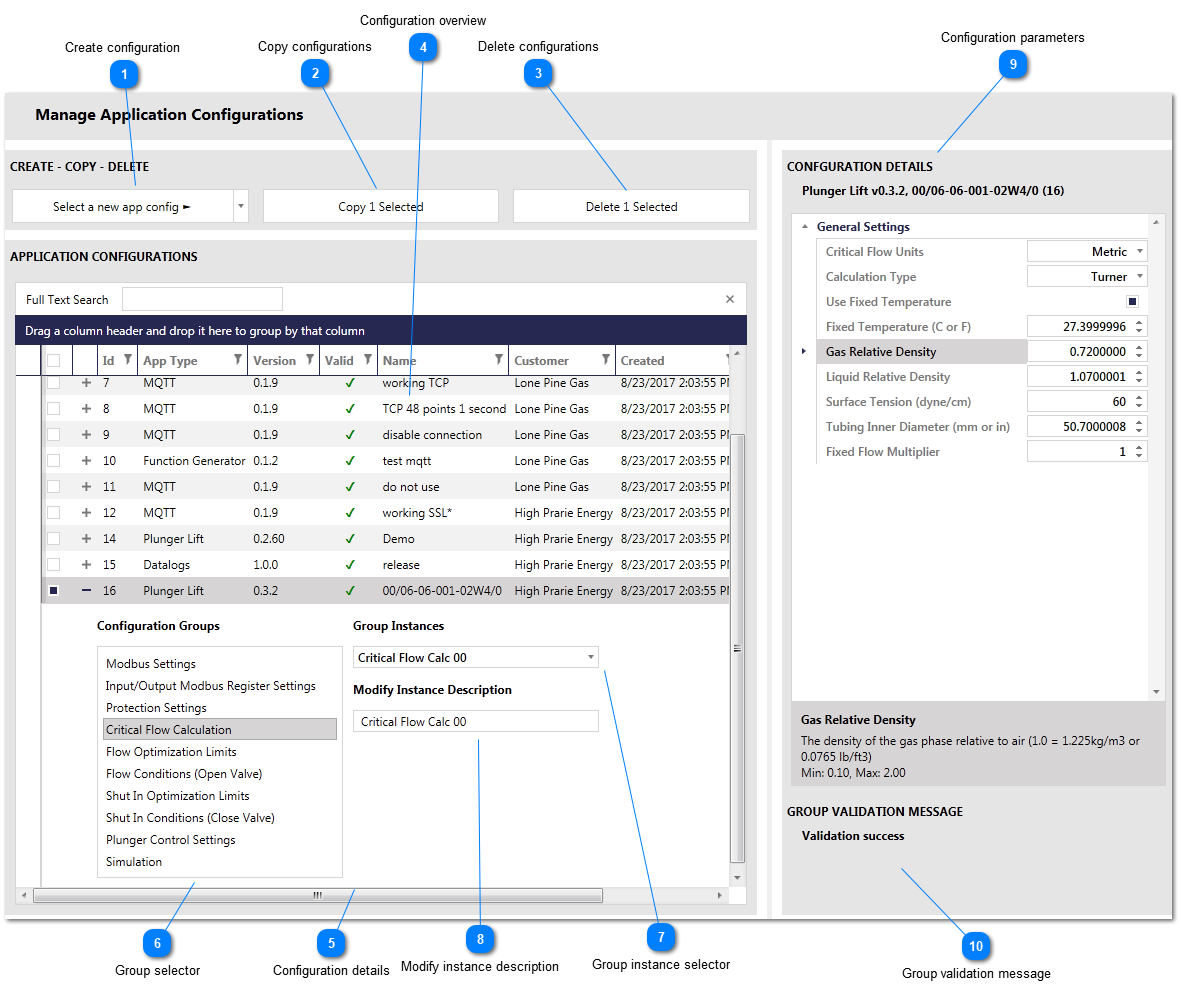
Apps Tab
Create configuration
Use this button to create a new application configuration. Use the arrow and the drop down box that appears when the arrow is clicked to choose the application type that you want to create the configuration for. You can only create the newest version of the configuration, but if you have RTUs with older configurations, the PC Configuration App can still manage those configurations.
An application configuration is created with a default configuration and inserted into the database.
Use this button to copy existing application configurations to new configurations. You can select 1 or many application configurations of different types and different versions.
Copied application configurations are inserted into the database as they are created. The configuration is identical to the source application, but a star (*) is added to the name.
Use this button to delete selected application configurations. Deleted applications are removed from the database and cannot be recovered after being deleted.
Be careful when deleting application configurations. This operation cannot be undone, and cannot be cancelled once underway.
This area shows an overview of an application configuration. There are columns for the application type, the configuration version, whether the configuration is valid (Valid), a user configurable Name, a user configurable Customer, the time that the configuration was created (Created), and the time that the configuration was modified (Modified - not visible in the screen grab.)
The Id is a special column that is the primary key from the database. When a new application is created, it has the same name and configuration as other application configurations. The Id, however, is unique, and provides a convenient way to distinguish configurations from one another without having to name them all.
When a configuration is valid, the Valid column will show a green check mark. When a configuration is invalid, a red X will be shown.
The Name is written to the RTU and must contain 23 or less ASCII characters.
This area shows the configuration details of the selected application. Click the plus (+) sign in the second column to make this area visible. This will usually automatically select the application configuration as well (first column), but not always.
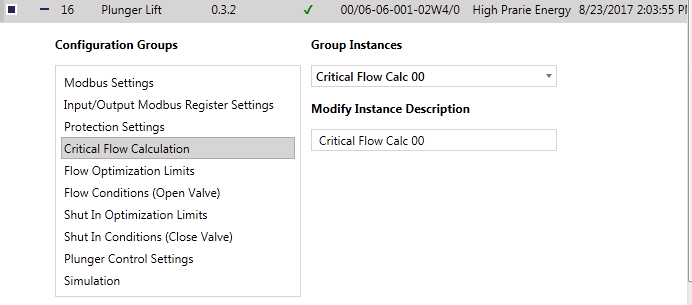
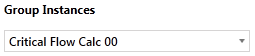
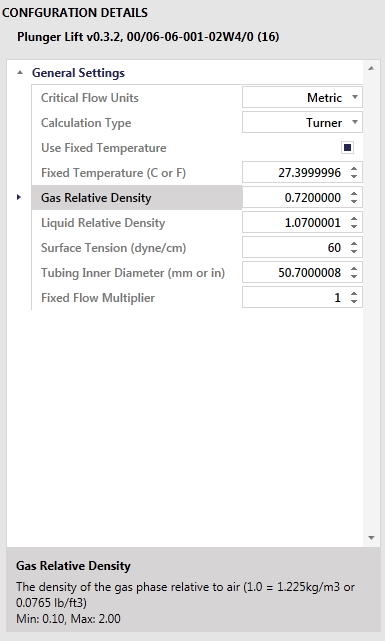
An application's configuration is organized into groups. In this example, we see the configuration groups that are available for the Plunger Lift application. On the right side, you can choose the instance of a group to configure. Some groups have only one instance, while most groups have multiple instances.
For example, there is only one Modbus Settings group but four Plunger Control Settings groups.
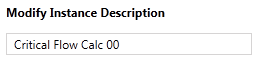
Use this field to enter a meaningful name for the group instance. This value is written to the RTU and can be retrieved later. This value must contain 23 or less ASCII characters. The name can only be modified if the configuration group has more than one instance.
This is where the actual configuration of the application is modified. Each configuration group instance contains a set of configuration parameters. This area shows the configuration parameters and allows you to modify their values. Values are automatically validated against a minimum and maximum values.
The bottom of this area shows helpful information about the selected configuration parameter, including how it is used and the valid range.
Changes are immediately written to the database and cannot be undone.